Imagine a world where every hilarious joke, brilliant idea, and dramatic pause can be immortalized with just a few clicks. Sounds like a dream, right?
This blog will teach you how to record Webex meeting calls effortlessly in 4 different scenarios and make it a reality:
- How to record Webex meeting calls as a host
- How to record Webex meeting as a participant
- How to record Webex meeting calls on the phone
- How to automate recording of Webex meetings
Read on to master the art of recording Webex meetings and become the ultimate meeting archivist.
How to record Webex meeting conversations

Whether you're attending virtual team huddles, client presentations, or brainstorming sessions, recording Webex calls is a game-changer. It eliminates the risk of missing critical information discussed during the conversation.
💡 Fireflies Tip
Fireflies is an AI notetaker tool that automatically records, transcribes, summarizes and analyzes all your meetings with 95%+ accuracy.
Here's how to do it in different scenarios.
How to record Webex meeting calls as a host
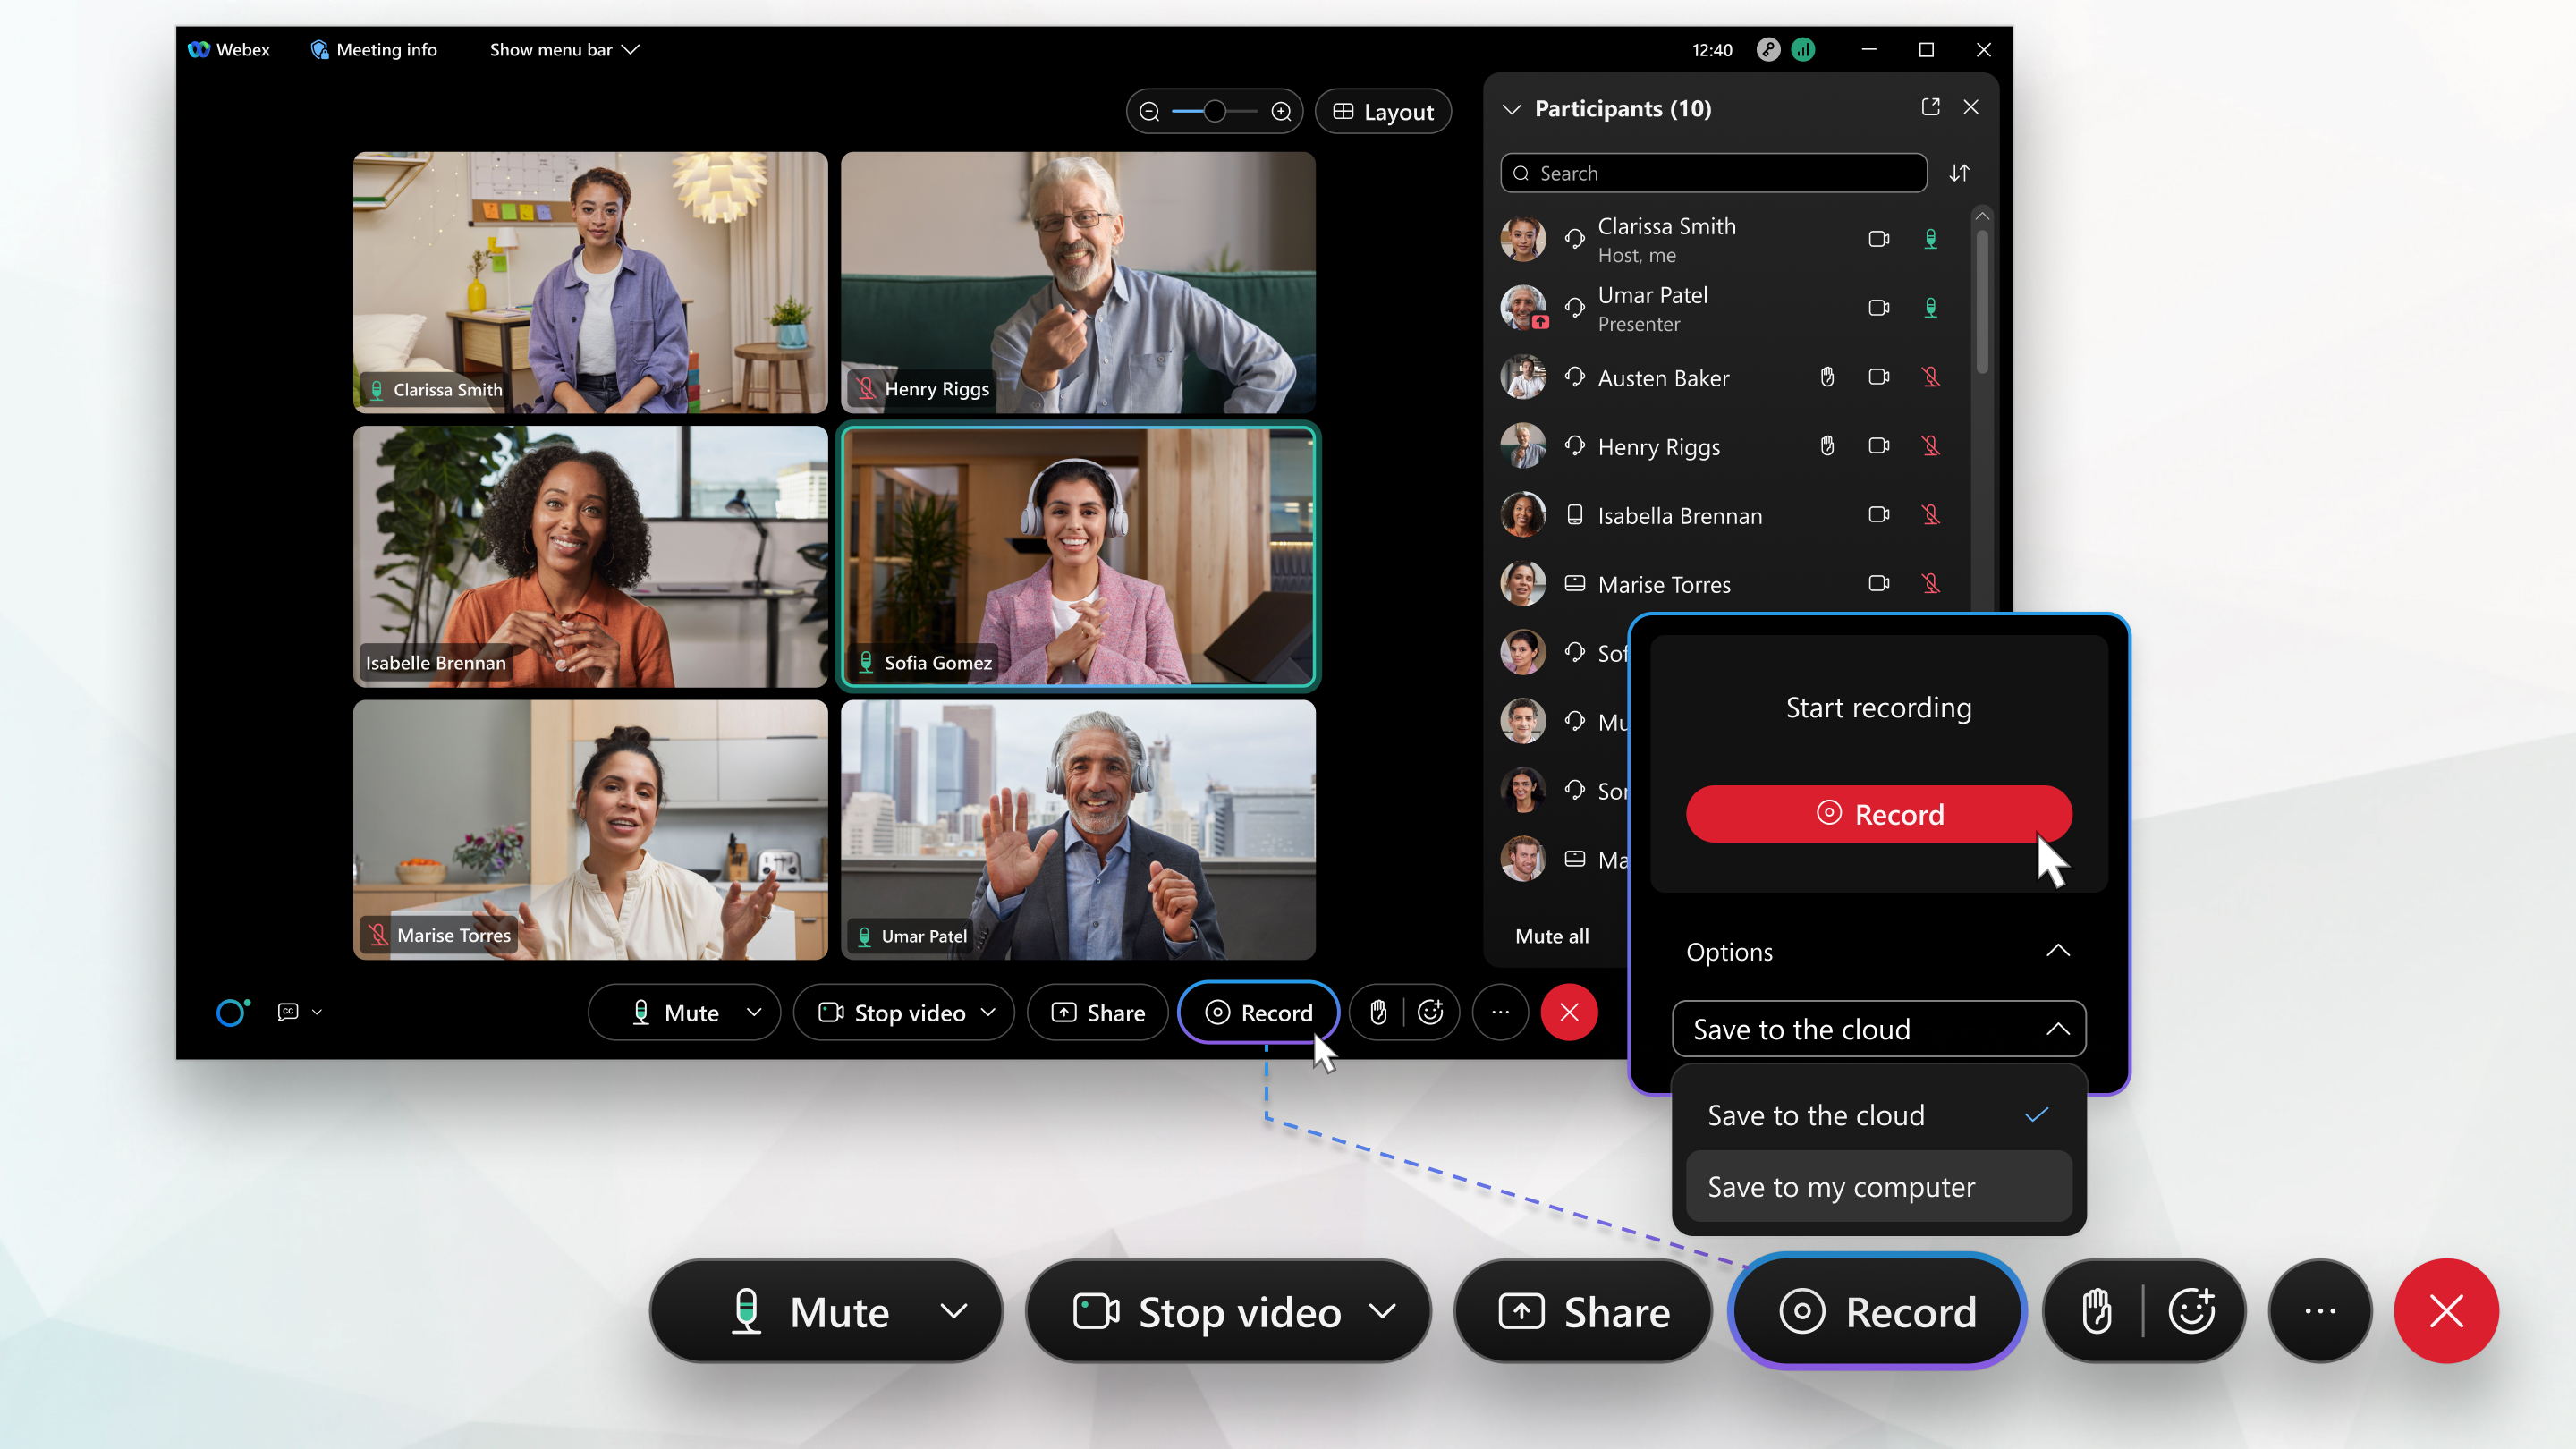
If you're the host of the meeting, here are the steps to follow for recording it:
- Look for the Record button at the bottom of the session control panel of your Webex live meeting. Click it and wait for the menu to appear.
- If you are using a premium account, you can choose where to save the recording. Simply pick the destination folder and then press the Save button. If you want to save the recording in the cloud, press Record in Cloud.
- The Webex recording will start, and you can pause and stop it using the pop-up at the bottom.

2. How to record Webex meeting as a participant
If you’re a participant, ask the meeting host to make you a presenter or co-host. Only the host is allowed to make several participants presenters or co-hosts.
To grant permission:
- Go to the Controls and select the Participants options.
- Next, go to the participant's menu list, scroll to your name, and then click More.
- Choose Allow Record.
Once you have the host's permission:
- Click Record at the bottom of your screen.
- The Recording icon on the upper-left corner will notify you when the recording is happening.
- Clicking the Stop button will automatically save your recording to your selected source.
3. How to record Webex meeting calls on the phone
This is a convenient way of recording your meeting on the go or if you can’t access your laptop or computer. You can either use the Webex mobile application or the built-in features on your Android and iPhone devices.
The meeting host determines how much control you get regarding recording meetings and phone calls. Depending on the setup, you can do the recording automatically. Although, sometimes you'll have to do this manually using the app.
To record meetings via the Webex mobile app, all you need to do is:
- Download the Webex app and open it.
- To start your meeting, click the Start Meeting button, or join a meeting already in progress by clicking Join Meeting.
- Tap the More icon, the ellipsis at the bottom next to the Share tab.
- A Start a Recording option will appear. Click it when you’re ready to record.

To record meetings via iPhone:
- Go to Settings on your iPhone, click Control Center, and enable screen recording.
- On the right of the Screen Recording option, there's a + icon. Click it to get the screen recording option.
- Next, open Webex and start the meeting.
- Swipe down from the right-hand corner of your screen and press the Record button.
(Note: There's a three-second countdown before the recording process starts. The meeting will automatically be saved to your library once you stop the recording)
To record meetings via Android:
- Enable the screen recording feature on your phone.
- Next, log in to the Webex application on your Android device and then join a meeting or start a new one.
- While the meeting is in progress, swipe down and press the Screen Record option.
- Click Start to record the meeting.
4. How to automate the recording of Webex meetings

Instead of manually controlling the recording of every Webex meeting, we recommend you use an AI notetaker tool like Fireflies and explore the power of automation.
Fireflies automatically records, transcribes, summarizes, and analyzes all your meetings with 90% accuracy. It seamlessly integrates with Webex and 50+ other popular video conferencing tools, Dialers, CRMs, productivity tools, etc.
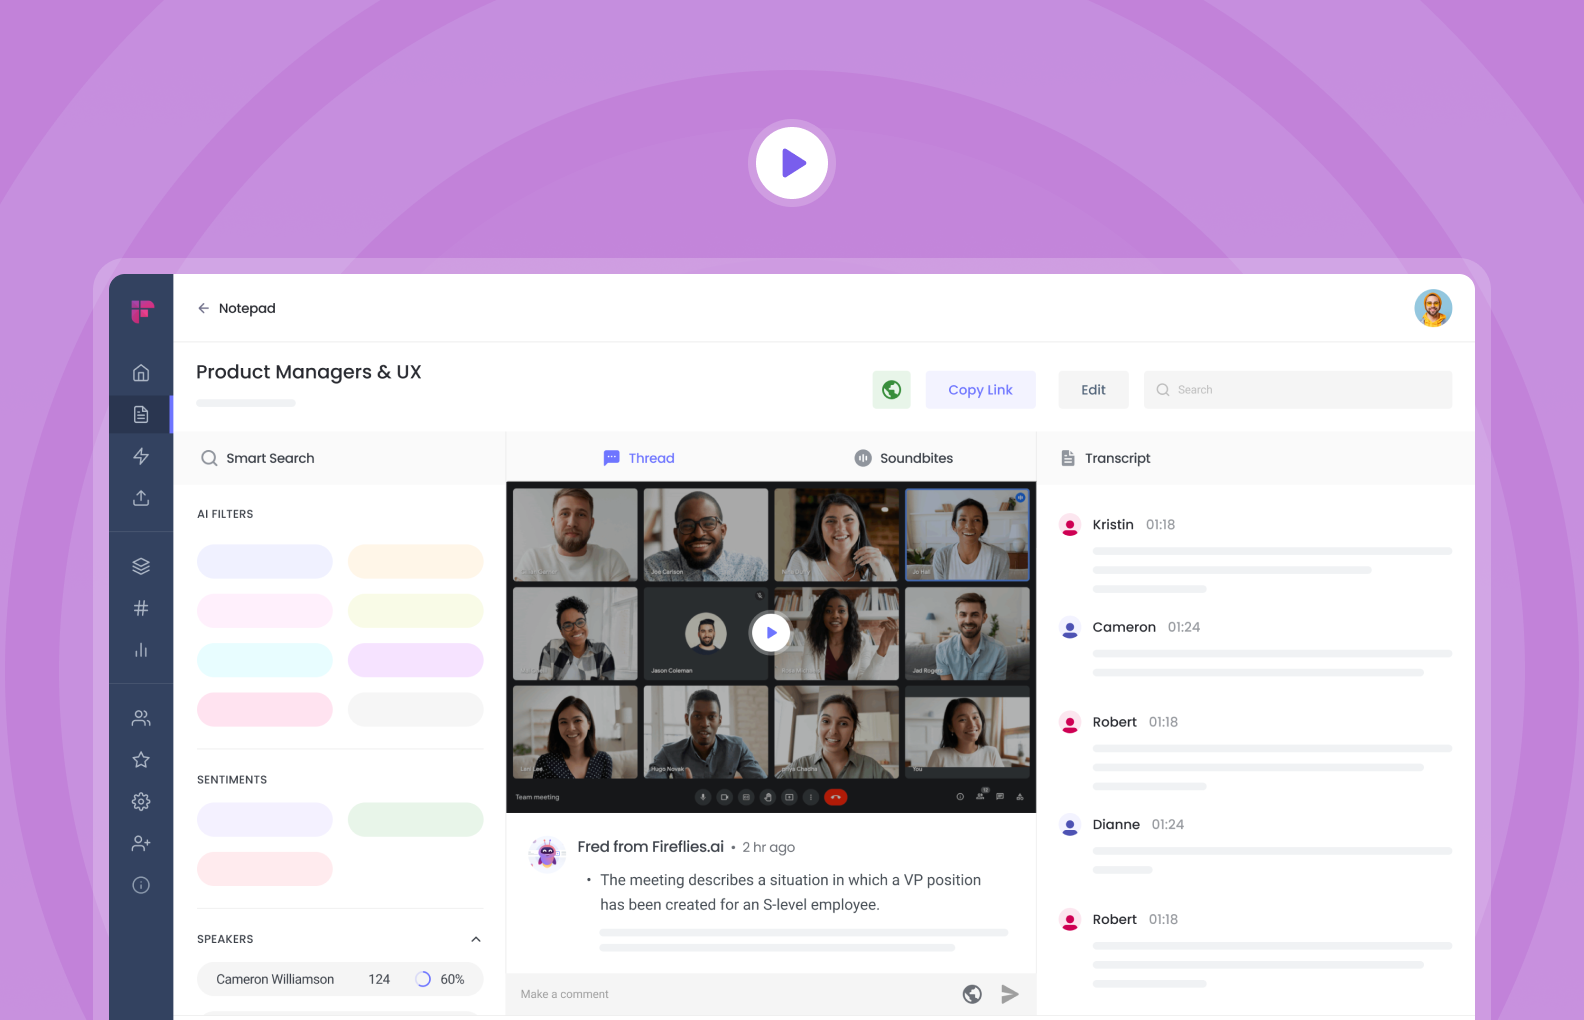
By using Fireflies, you can create a knowledge vault of all your conversations, not just the Webex meetings. Also, Fireflies offers global search and Smart search facilities to help you search easily within your collection of recordings.
Fireflies also offers chatbot assistance with AskFred, the ChatGPT for meetings. Simply open a recording and ask AskFred any questions you have about it. The bot will answer your queries within seconds.
You can enable Fireflies to record your Webex meetings in 3 ways:
- Invite Fireflies as silent attendee to your meetings
- Add Fireflies to a live meeting
- Use Fireflies chrome extension to auto-record meetings
1. Invite Fireflies as silent attendee to your meetings
You can invite Fireflies bot to join in your meetings in 2 ways:
- When you invite participants to your meeting, add fred@fireflies.ai as a participant.

- Configure Fireflies to auto-join your meetings in the Fireflies Settings.

2. Add Fireflies.ai Notetaker to a live meeting
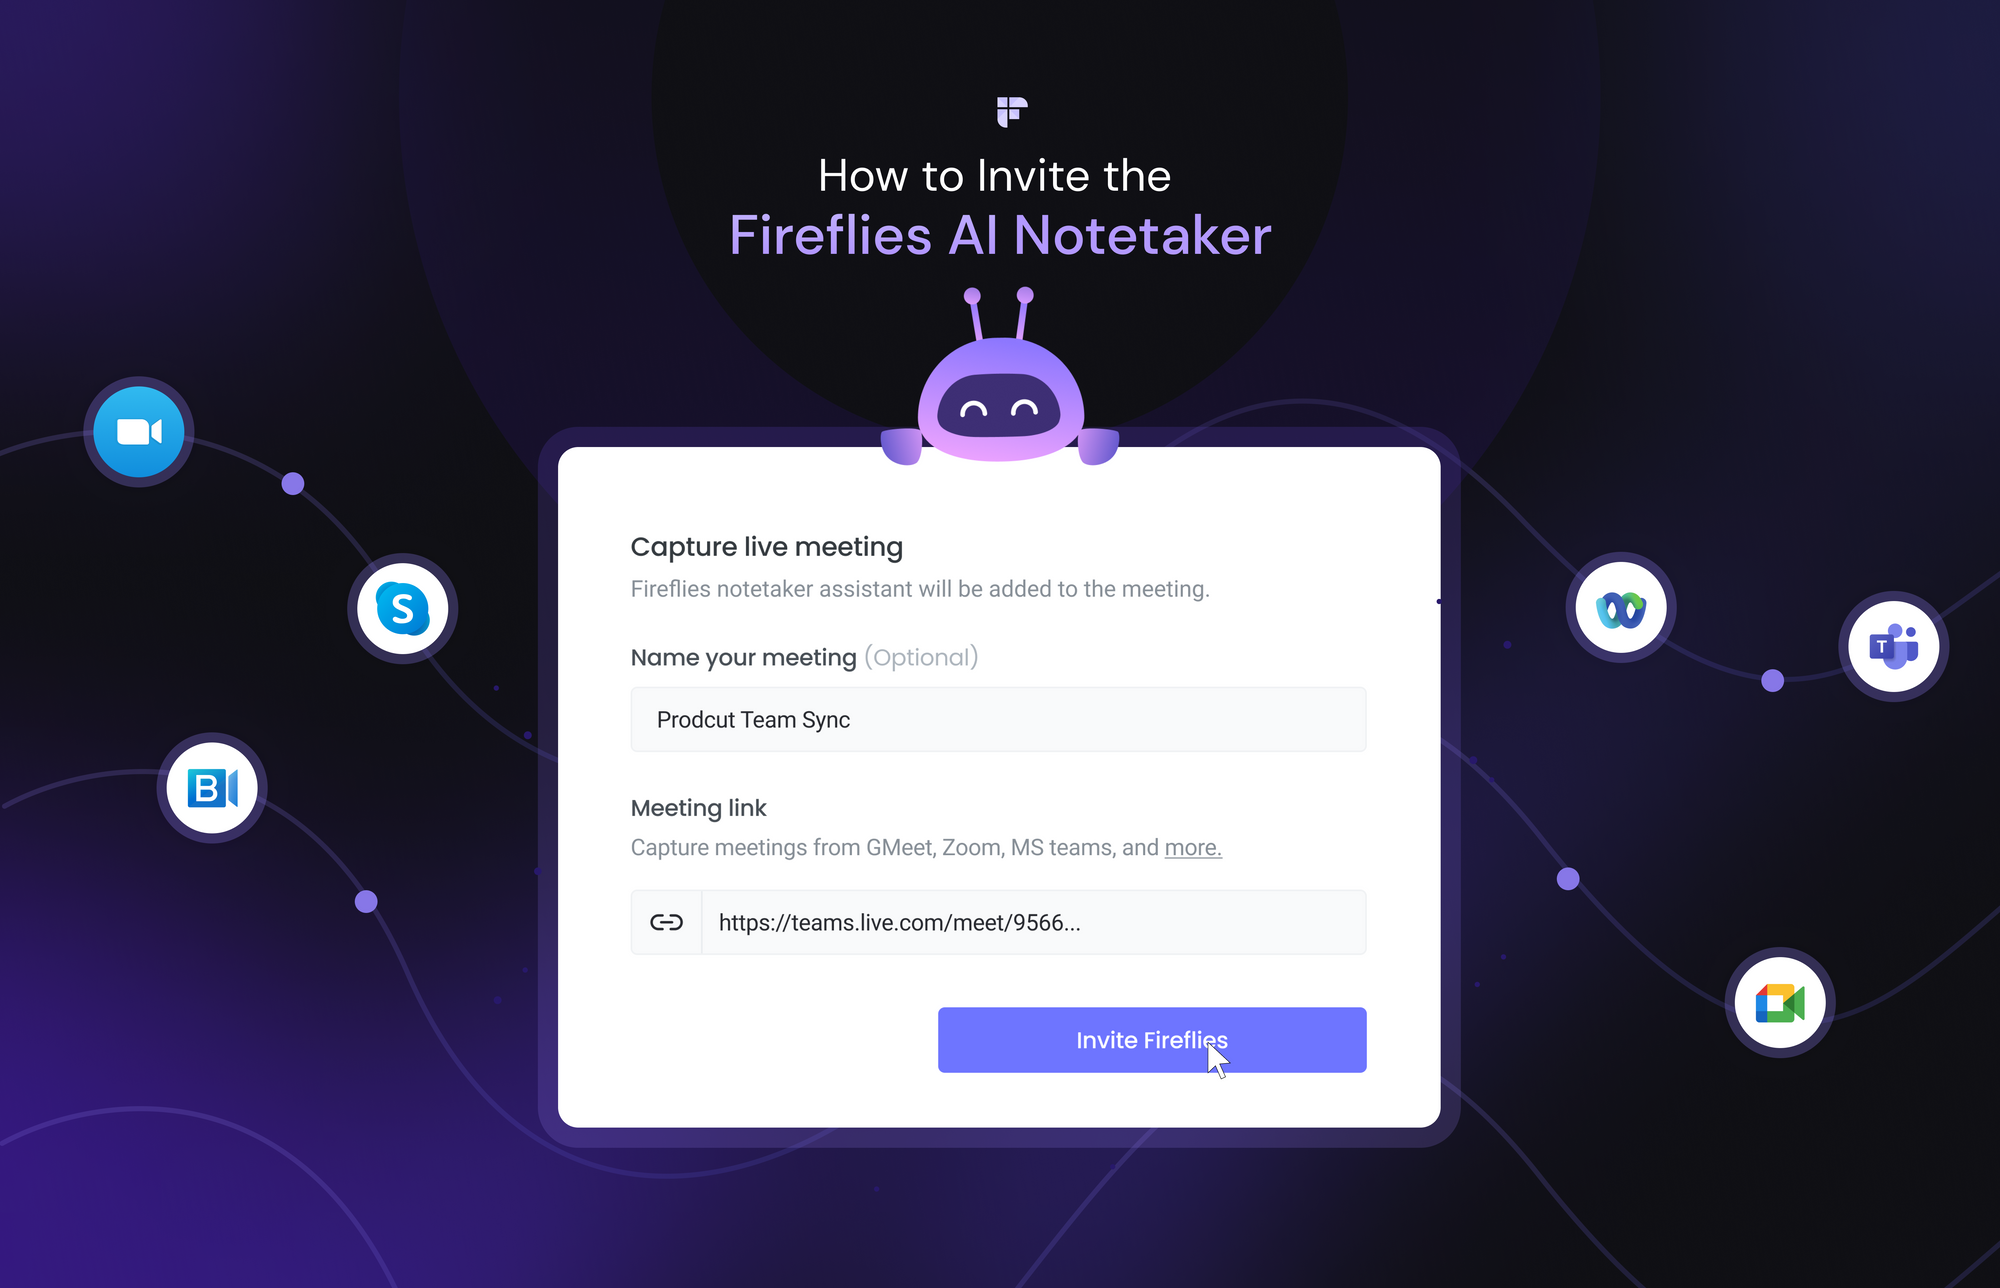
Forgot to invite Fireflies to your meeting? Here's how to add Fireflies to a live meeting:
- Open app.fireflies.ai dashboard.
- Click the Add to Live Meeting button.

- Enter the meeting name, duration, and Webex meeting URL. Fireflies will automatically join the live meeting within a minute.

3. Use Fireflies Chrome extension to auto-record meetings
Fireflies offers a Chrome extension, allowing users to record any meetings or audio directly from their Chrome browser.
When you're attending your Webex meetings via Chrome browser, follow these steps to record it automatically:
- Install the Fireflies Chrome extension.
- Sign in with Google; the auto-capture feature is on by default.

- Open and attend the meeting from your browser.
- Find the recording in your Fireflies Notebook.

Final note,
There it is, how to record Webex meeting calls from various perspectives: as a host, participant, via phone, and even with the assistance of AI tools like Fireflies.
Regardless of your role or preferred method, recording Webex meetings opens up a world of possibilities. It helps to preserve crucial information and allows for seamless knowledge sharing.
So, next time you go into a Webex meeting, utilize these recording techniques and tools. Let productivity soar!


