Zoom is one of the most popular video conferencing software in the world right now, with a market share of around 55%.
The tool hosts approximately 3.3 trillion meeting minutes every year. You would have even been asked to install or use it at your offices or colleges to attend business meetings or classes.
But like any tool, Zoom also has some days when it glitches or shows errors. While Zoom errors aren't so common, it can be frustrating to navigate them, especially when you have an important meeting to attend.
In this blog post, we will address some common Zoom error codes that users encounter and how to troubleshoot them.
Zoom error codes
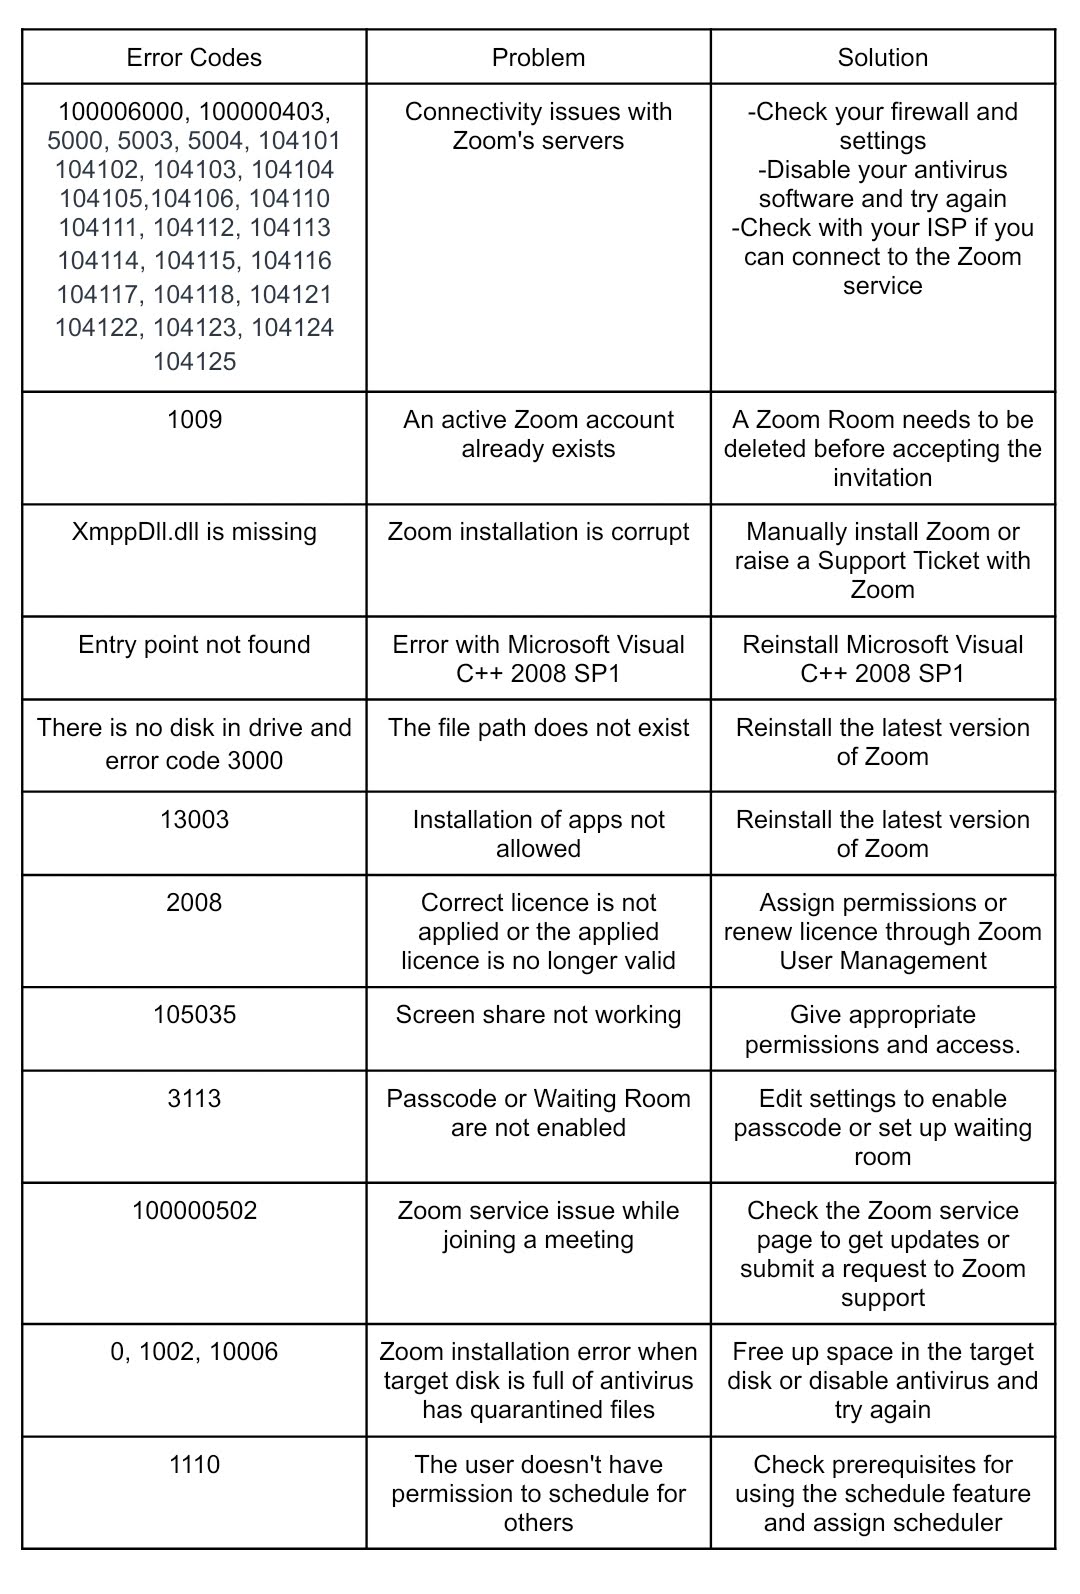
1. Connectivity issues with Zoom
If you are facing a connectivity issue with Zoom Server, you may come across either of these error codes: 5000, 5003, 5004, 104101, 104102, 104103, 104104, 104105, 104106, 104110, 104111, 104112, 104113, 104114, 104115, 104116, 104117, and 104118. These are some of the most common Zoom error codes.
Fortunately, resolving them is simple. You just have to ensure nothing is blocking Zoom’s access to the Network.
You need to verify that Zoom is permitted through your Firewall.
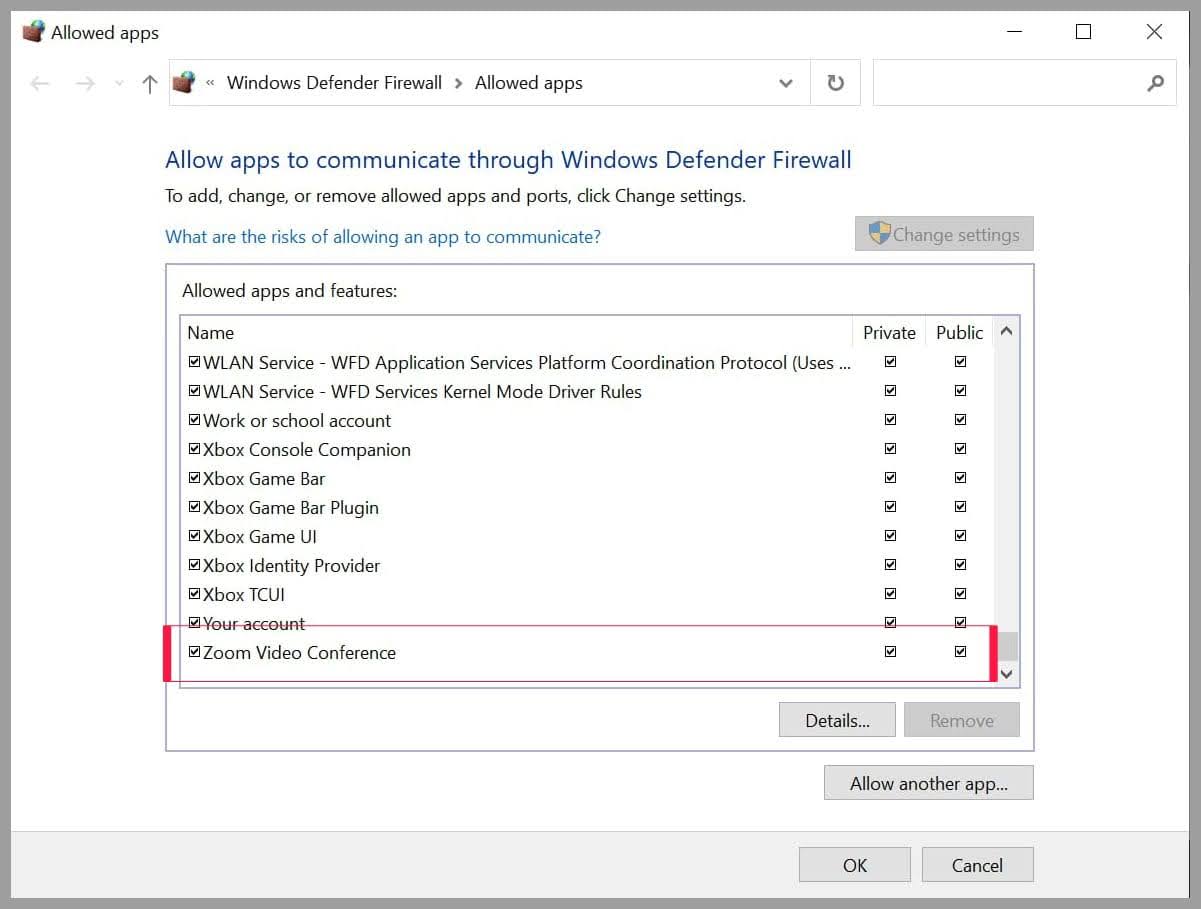
- Open Settings by Win + X > Settings and click Updates & Security > Windows Security > Open Windows Security.
- In Windows Security, click Firewall & network protection > Allow an app through Firewall > Change Settings and ensure that Zoom Video Conference has both Private and Public options checked.
By following these steps, you give Zoom access through your Firewall. Now, check if the issue has been resolved.
In case the issue persists, temporarily disable your Firewall and virus Protection.
Disabling Firewall
- Open Windows Defender from the Start menu.
- Head to the Firewall & Network Protection tab.
- Select the active network and disable the Firewall using the toggle.
Disabling virus protection
- Open Windows Defender from the Start menu.
- Head to the Virus & Threat Protection tab.
- Select Manage settings from “Virus & threat protection settings” and disable Real-time protection.
Disabling your Firewall and Virus Protection makes your computer vulnerable to viruses and malware. Therefore, refrain from downloading anything potentially harmful. Hopefully, these steps will fix the Zoom connectivity issue.
Effortlessly streamline your Zoom meetings with Fireflies
Effortlessly record, transcribe, summarize, and analyze all your online and in-person meetings at 90%+ accuracy.
- Customizable AI Super Summaries
- Conversation intelligence and meeting insights
- 40+ Exclusive integrations and custom API
- Advanced collaboration tools
- Zero-day data retention and private storage

2. Zoom installation error
A Zoom error code 13003 is shown when a user’s permissions halt the installation process. It can also arise when conflict occurs with the drivers installed on your computer. The resolution to this error is to uninstall Zoom and install it as an administrator.
The following Zoom error code appears only for Mac OS users. When an automatic update for Zoom fails on your Mac OS, you might encounter error code 10004 and error code 10008.
Error 10004 is shown when your Zoom desktop client fails to update automatically. If you work for an organization where the IT team manages certain rights, you should contact them for assistance. If you have the installation rights on your Mac, try uninstalling Zoom and re-installing it. Zoom Error 1008 occurs when you are trying to update the Zoom desktop client and cannot.
This usually happens when some files are missing or have been deleted by other applications. You can resolve this by uninstalling the application and re-installing the latest version.

3. XmppDll.dll is missing
In Windows, the message ‘XmppDll.dll is missing from your computer’ indicates that the Zoom installation is corrupt, and it has prevented the installation of XmppDll.dll in the correct directory.
A DLL library is a set of small programs that a large program requires to function.
You will need to reinstall Zoom to fix this issue.
- Head to ‘Control Panel’ through the Windows search bar
- Once you open the ‘Control Panel’, search for the ‘Uninstall a Program’ option.
- Select Zoom in the programs list and then click Uninstall.
- If prompted, "Are you sure you want to uninstall Zoom?", click 'Yes'.
- Once completed, download and reinstall Zoom.
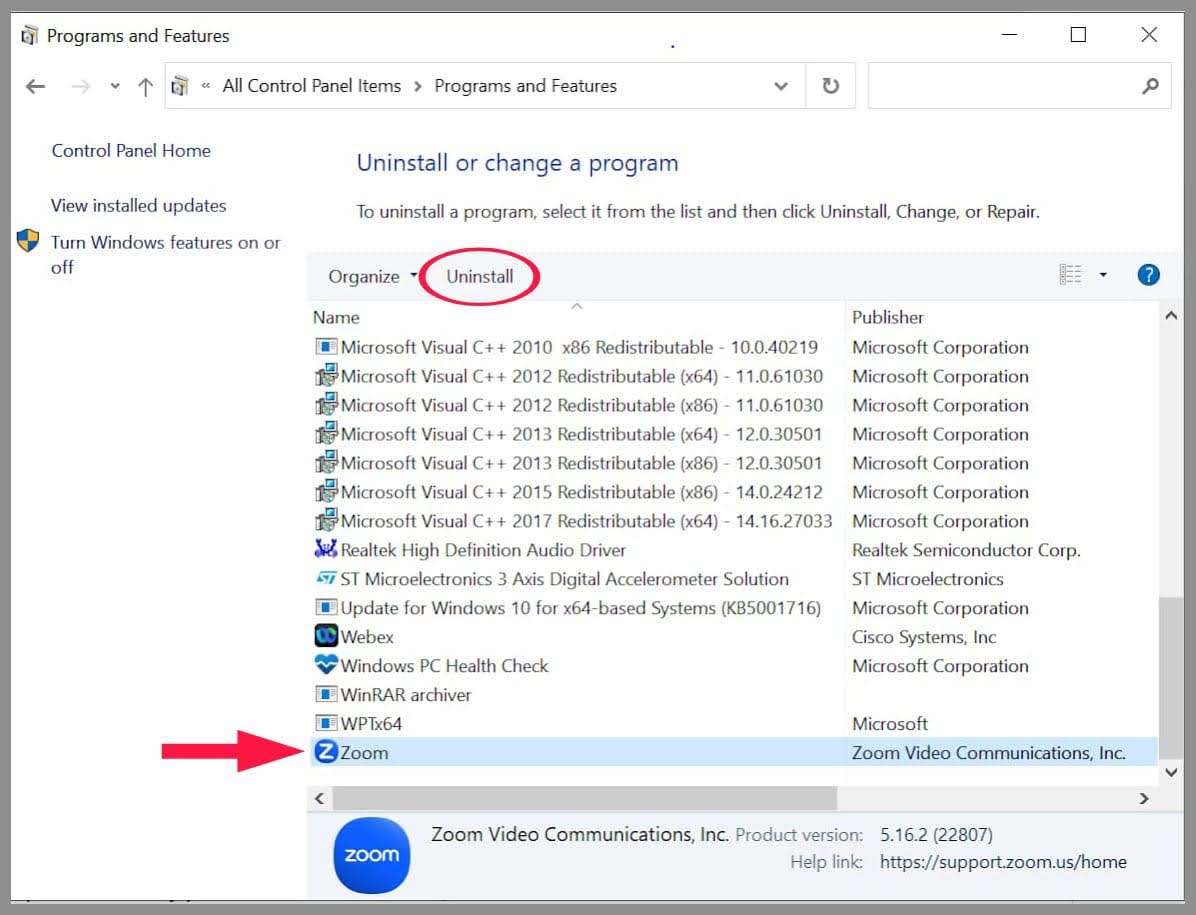
If the issue persists, submit a request to Zoom Support.

4. Entry point not found
Zoom, like many other applications, requires Microsoft Visual C++ 2008 SP1 to install the necessary components. If you receive an error message ‘Entry Point Not Found’ or ‘The procedure entry point could not be located,’ an error has occurred with its installation.
This issue can easily be fixed by reinstalling Microsoft Visual C++ 2008 SP1.

5. Error codes 0, 1002, 10006
Sometimes, during Zoom installation, the target disk may not have enough space, or your antivirus quarantines some of the files downloaded by the installer. To resolve this, the first thing you need to do is to check if your device has sufficient disk space.
If not, free up space by initiating a disk cleanup. If this doesn't help, disable your antivirus and try installing the application again. Alternatively, you can update Zoom via the Download Center.
6. Unable to connect to Zoom
This is one of the most common Zoom errors you might encounter. You should uninstall the application and install it again. Here’s how you can uninstall Zoom from your Mac OS:
- Go to your desktop, click on ‘Go’, then select ‘Applications’
- Right-click on the application ‘zoom.us’ and then click on ‘Show package contents’
- Click on the folder that says ‘Contents’ and then click on the folder ‘Frameworks’
- Once you double-click on ‘Zoom Uninstaller,’ the uninstallation process will begin
Once you uninstall Zoom on your Mac, here is how you can install it again:
- Visit ‘Download Center’ and download ‘Zoom Desktop Client’ for Mac OS
- Open the downloaded file; you can usually find it under ‘Downloads’ in your browser or Finder
- Once you click on the installer file, a dialogue box opens where you click ‘Continue’
- If you have administrator credentials for your Mac, click on ‘Install for all users of this computer’. If you do not have administrator access, click on ‘Install only for me’
- Click ‘Continue’
- If you want to change the Installation Location (For all users or only for you, as discussed above), you can.
- Click ‘Install software’
- Once the installation finishes, you can click on ‘Close’
Once you install the latest version of the application, check if you can connect to Zoom.

7. ‘There is no disk in drive’ and error code 3000
As leading as it may sound, you need not put any disk in any drive.
This happens when the Zoom application searches for a file path on your Windows device that does not exist. It usually occurs while joining or leaving a meeting.
You need to upgrade Windows to avoid this error. Update Zoom as well, or simply uninstall and reinstall.

8. Error code 2008
You may come across an error message saying The meeting has an unexpected error. Error Code: 2008.
This either means that you do not have the correct license for the meeting, or the applied license is no longer valid. To resolve this, the host must visit the Zoom User Management.
Here, they can assign the applicable permissions to you or, in the latter case, renew the license.

9. Error code 3113
If you encounter Zoom error code 3113, this indicates that either the Waiting Room or a Passcode is not enabled for your meeting.
In this case, all you need to do is either enable a passcode or set up a waiting room for the meeting.
- Sign in to the Zoom desktop client
- Click Meetings > Upcoming
- Select the meeting, then click Edit
- Under Security, click Passcode, then enter a passcode or click Waiting Room
- Click Save

10. Screen share not working
One of the most common errors you may face is when your screen share fails, and you will see the error code 105035.
This happens when your camera and microphone are not given access. So make sure the screen-sharing feature is enabled and you’ve given all the necessary permissions and access.
You can try any of the following steps to resolve the issue:
- Upgrade your app version
- Clear cache and cookies
- Refresh the browser or restart your device
- Uninstall the app, and then download and reinstall it.
- For macOS version 10.15 Catalina and higher, you should check that, in your device’s privacy settings, Zoom has permission for screen recording.

Automate note-taking for all your Zoom meetings with Fireflies

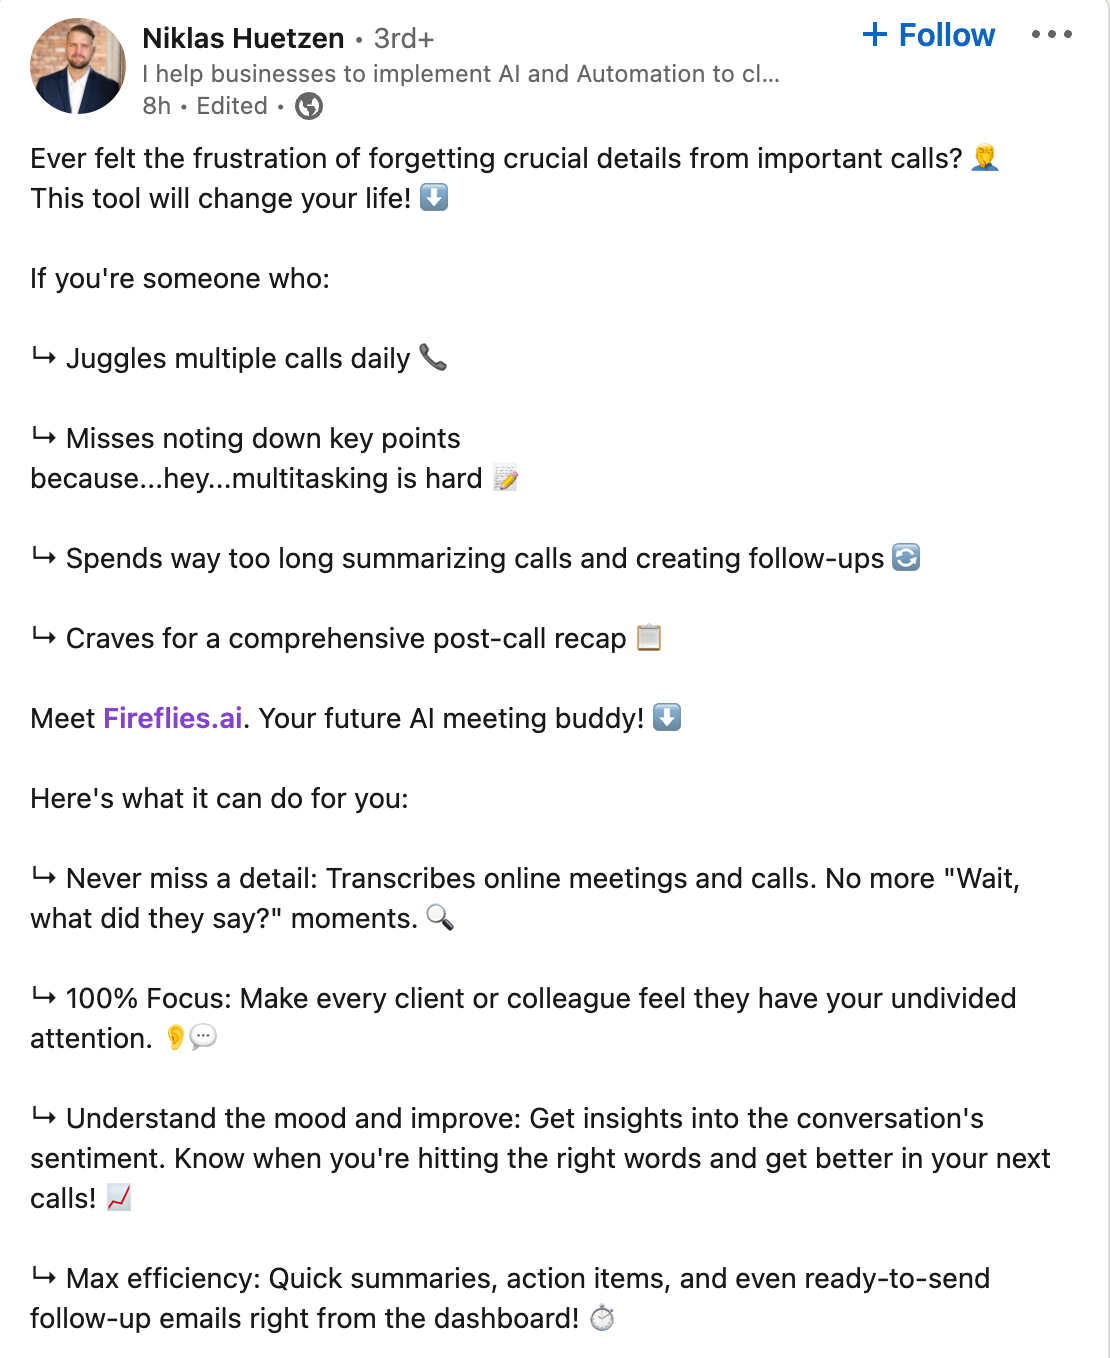

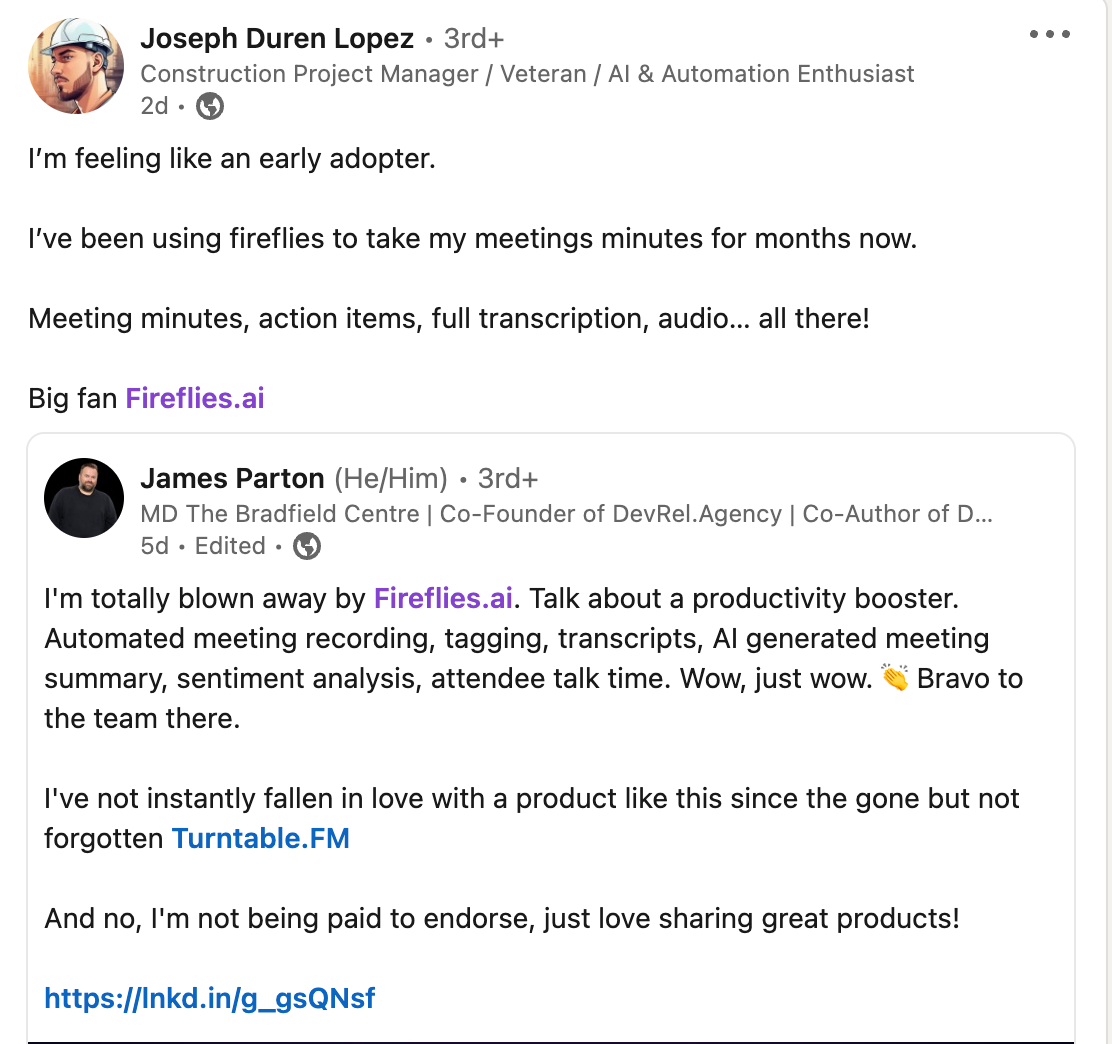
Customer testimonials
Now that you have an understanding of Zoom error codes and troubleshooting and you have the application up and running try to get the best out of your meetings.
A Zoom integration like Fireflies can automate your note-taking and provide tangible to-dos. This tool lets you record, transcribe, summarize, and analyze your Zoom meetings.
Fireflies offers an impressive transcription accuracy of over 95%, ensuring you won't miss a moment from a 2-hour meeting. But that's not all. You can easily revisit and review all the important details discussed during your meetings in under 5 minutes, get action items, and even share important soundbites for reference with your team.
Zoom only transcribes meetings that happen in English. Fireflies, on the other hand, supports over 3 English accents and 60+ languages, including Portuguese, Spanish, French, Arabic, German, Dutch, and Italian.


![A Complete Guide to Zoom Error Codes & How to Solve Them [2024]](/blog/content/images/size/w2000/2023/11/Meeting-etiquette-rules-all-professionals-must-follow--22-.png)

